タイトル通りの内容です。
結論から言うと、<merge>タグのtools:parentTag属性に追加先のレイアウトのLayoutを指定すればOKです。
レイアウトを再利用する方法および注意点
レイアウトを再利用するとき、Androidでは<include>タグが使用できます。
使い方としては、追加先のレイアウトファイル内に<include>タグを追加し、<include>タグのlayout属性に再利用したいレイアウトファイルを指定するだけです。
使い方としてはシンプルですが、再利用したいレイアウトファイルを作成するときに注意すべき問題が1点あります(他にもあるかもしれませんが)。
昨今では、ConstraintLayoutを使用してフラットなレイアウトを作成するのが主流になっています。
しかしながら、再利用したいレイアウトを単純にConstraintLayoutを使用して作成すると、include時に不要な階層が増えてしまいます。
シンプルなレイアウトであればさほど問題にならないとは思いますが、基本的には階層が増えるごとに描画コストがかかってしまいます*1。
例えば、以下のレイアウトファイルをincludeすると、ConstraintLayoutの中にConstraintLayoutがネストしたレイアウトが作成されてしまいます。
<!-- layout_for_including.xml -->
<?xml version="1.0" encoding="utf-8"?>
<androidx.constraintlayout.widget.ConstraintLayout
  xmlns:android="http://schemas.android.com/apk/res/android"
  xmlns:app="http://schemas.android.com/apk/res-auto"
  android:layout_width="match_parent"
  android:layout_height="match_parent">

  <TextView
    android:layout_width="wrap_content"
    android:layout_height="wrap_content"
    android:text="Hello World!"
    app:layout_constraintBottom_toBottomOf="parent"
    app:layout_constraintLeft_toLeftOf="parent"
    app:layout_constraintRight_toRightOf="parent"
    app:layout_constraintTop_toTopOf="parent" />

</androidx.constraintlayout.widget.ConstraintLayout>
<merge>タグの使用
上記の問題に対して、<merge>タグを使用することで、include時に不要な階層が増えることを回避できます。
<merge>タグを使用して作成したレイアウトを<include>タグのlayout属性に指定すると、<merge>タグ内のコンポーネントだけ追加されます。
使い方としては、先ほどのレイアウトファイルのLayout部分をmergeに変更するだけです。
下記の例では、不要になったandroid:layout_width属性とandroid:layout_height属性も削除しています。
<!-- layout_for_including.xml -->
<?xml version="1.0" encoding="utf-8"?>
<merge
  xmlns:android="http://schemas.android.com/apk/res/android"
  xmlns:app="http://schemas.android.com/apk/res-auto">

  <TextView
    android:layout_width="wrap_content"
    android:layout_height="wrap_content"
    android:text="Hello World!"
    app:layout_constraintBottom_toBottomOf="parent"
    app:layout_constraintLeft_toLeftOf="parent"
    app:layout_constraintRight_toRightOf="parent"
    app:layout_constraintTop_toTopOf="parent" />

</merge>
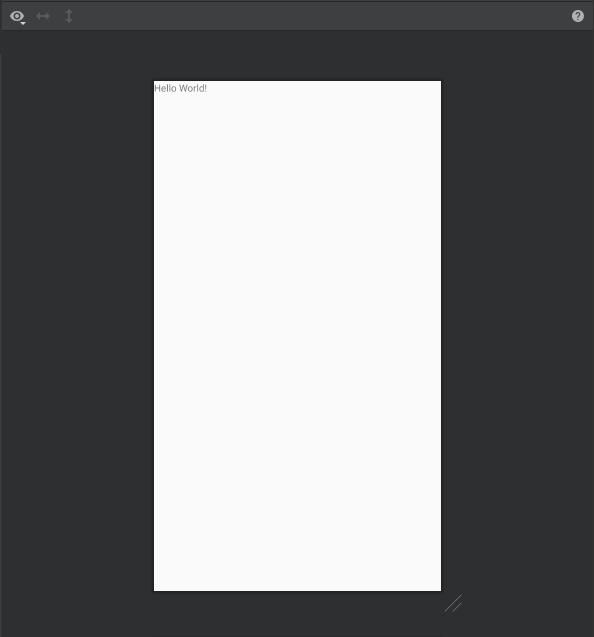
<merge>タグ使用時のプレビュー表示
<merge>タグを使用することによって、階層をフラットに保ちながらレイアウトを追加できるようになります。
しかしながら、この状態でLayout Editorを見ると、LayoutがConstraintLayoutではなくなったので、<merge>タグ内の全てのコンポーネントに制約の付いていない状態でプレビュー表示されてしまいます。
<merge>タグ内のレイアウトを適切に表示するためには、<merge>タグのtools:parentTag属性に追加先のレイアウトのLayoutを指定します。
先ほどのレイアウトファイルであれば、以下のようにします。
<!-- layout_for_including.xml -->
<?xml version="1.0" encoding="utf-8"?>
<merge
  xmlns:android="http://schemas.android.com/apk/res/android"
  xmlns:app="http://schemas.android.com/apk/res-auto"
  xmlns:tools="http://schemas.android.com/tools"
  tools:parentTag="androidx.constraintlayout.widget.ConstraintLayout">

  <TextView
    android:layout_width="wrap_content"
    android:layout_height="wrap_content"
    android:text="Hello World!"
    app:layout_constraintBottom_toBottomOf="parent"
    app:layout_constraintLeft_toLeftOf="parent"
    app:layout_constraintRight_toRightOf="parent"
    app:layout_constraintTop_toTopOf="parent" />

</merge>
これによって、タグ内のレイアウトのプレビューを適切に表示できるようになります。
